
Hello all!
Yes! This is a tutorial! On a Monday even! I have my act together this week haha!
So recently I wanted to make a simple, yet meaningful card, and decided upon this die-cut option, featuring beautiful vintage craft supplies sourced from Lisa's Craft Shoppe (I also featured her lovely supplies earlier, in this notebook tutorial. Find her links at the bottom of this post). Have a go, and share your beautiful cards with us!
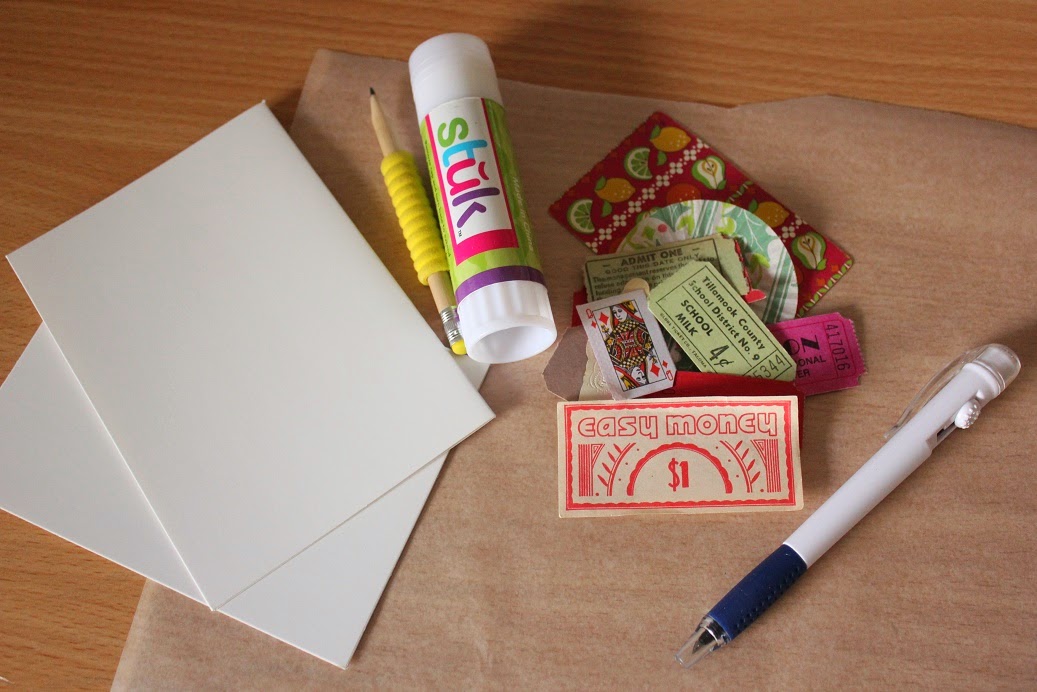
You will need:
2x blank cards
Pencil
Glue
Cut-outs, stickers etc
Craft knife/scalpel
Cutting board
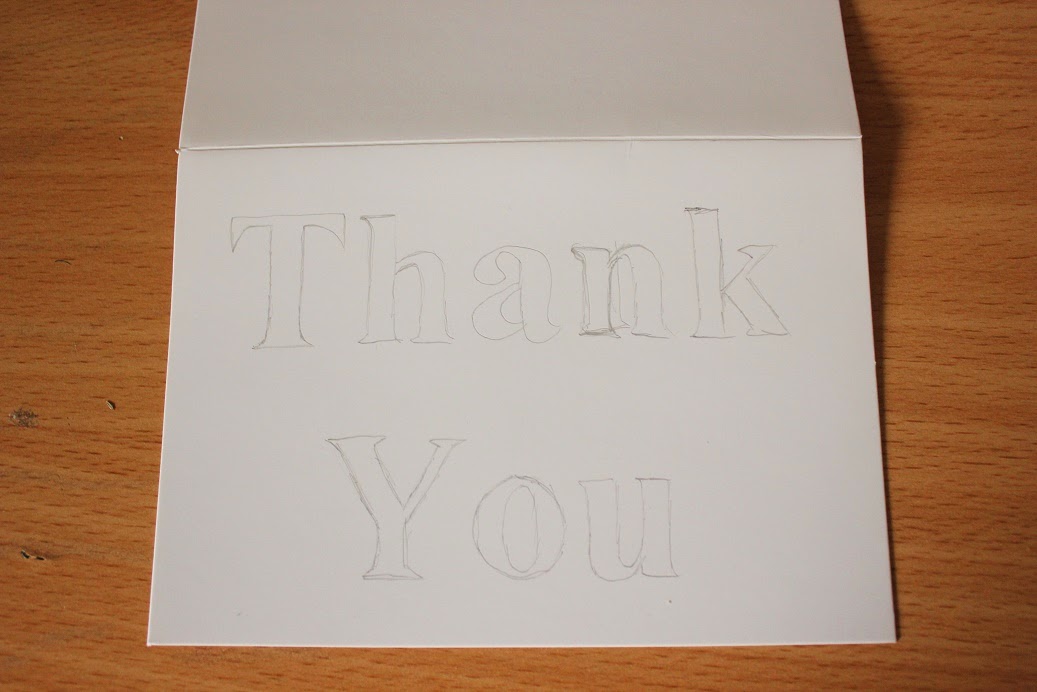
On one of the cards, trace what you want to cut out in pencil. Here I have chosen the words 'Thank you', and modeled them from a font on the computer.
Now be careful here! Using the cutting board and scalpel, cut out your tracings. The sharper your scalpel is, the better it will come out.
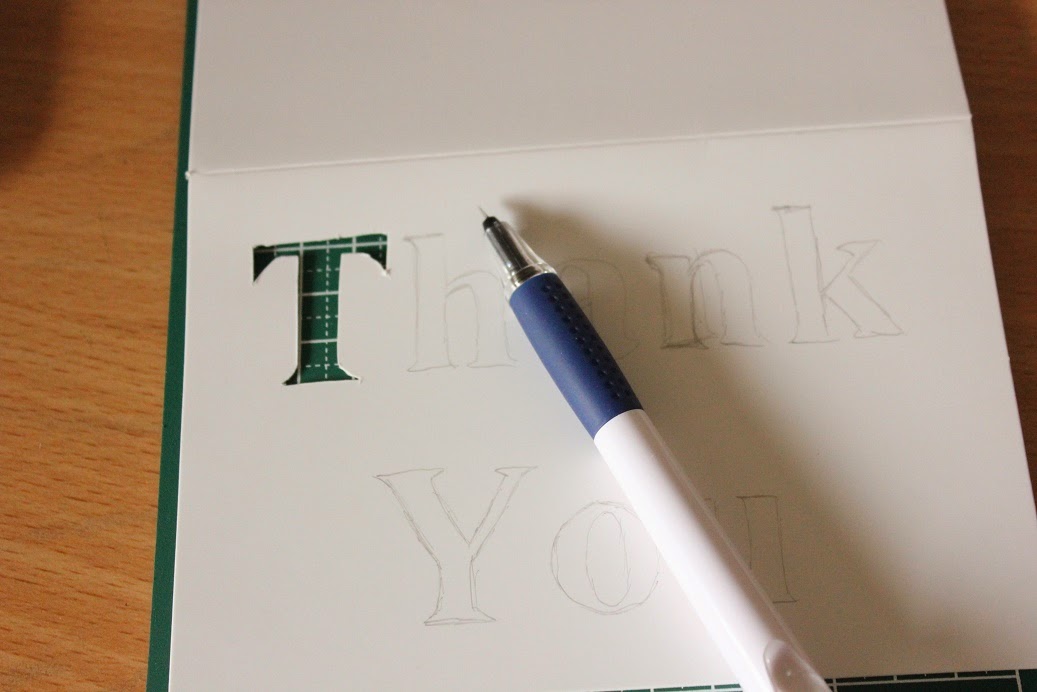

On the other card, stick down your background. You don't have to cover the entire card, but just make sure that you cover the areas which will be exposed by the die cuts. I have used vintage bits and pieces from Lisa's Craft Shoppe

Then line up the cards, and stick the cut one on top of the covered one. And you are done! Simple, yet thoughtful :)


No comments:
Post a Comment