
Hey all!
Its finally happening! I'm posting a craft tutorial (hehe).
Now those close to me know how much I LOVE stationery... particularly any paper products, and notebooks are my favourite thing to personalise.
Over time I have found various ways to put my own mark on notebooks, one of which I shared with you back here. Now here is another, slightly easier and less time-consuming tutorial, which I hope you do enjoy!
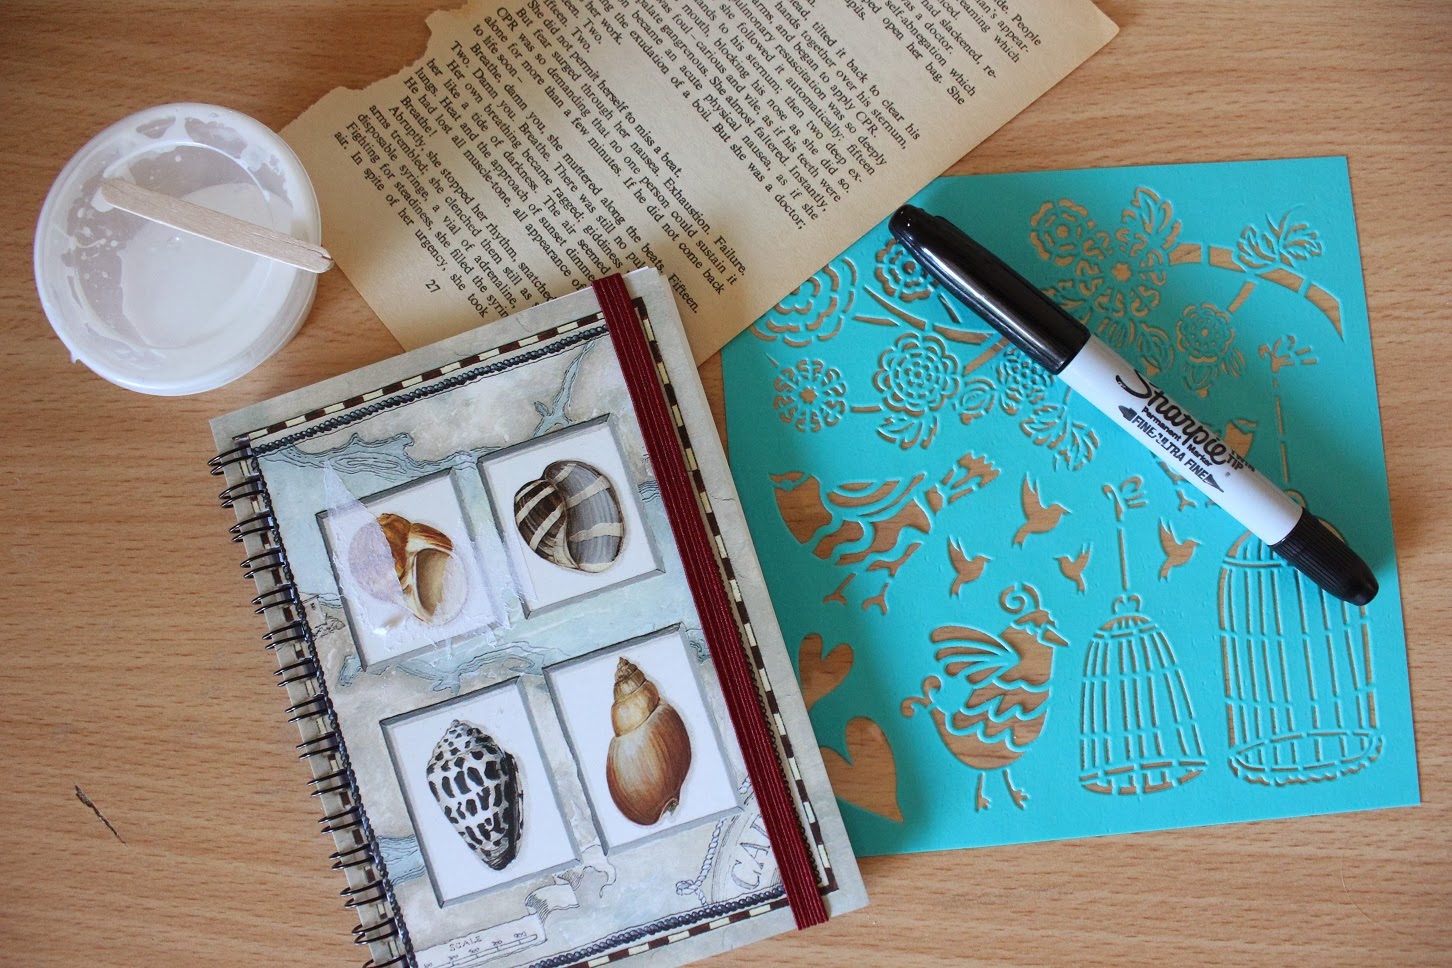
You will need:
A ring bound notebook
Background paper (I have used vintage book paper)
Stencil
Permanent marker
Scissors and craft scalpel (I left them out of the pic, sorry!)
Modge podge or craft sealant (You can use my home-made sealant from this post)
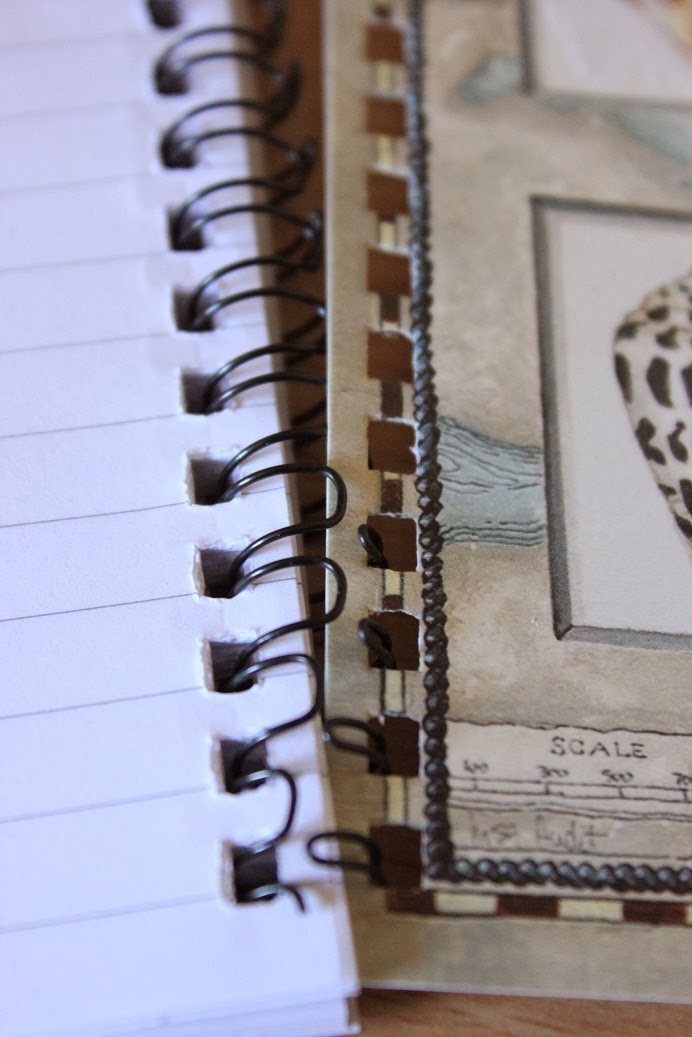
Firstly gently loosen the ring binding and remove the cover. Be careful to not bend the ring binding too much out of shape.

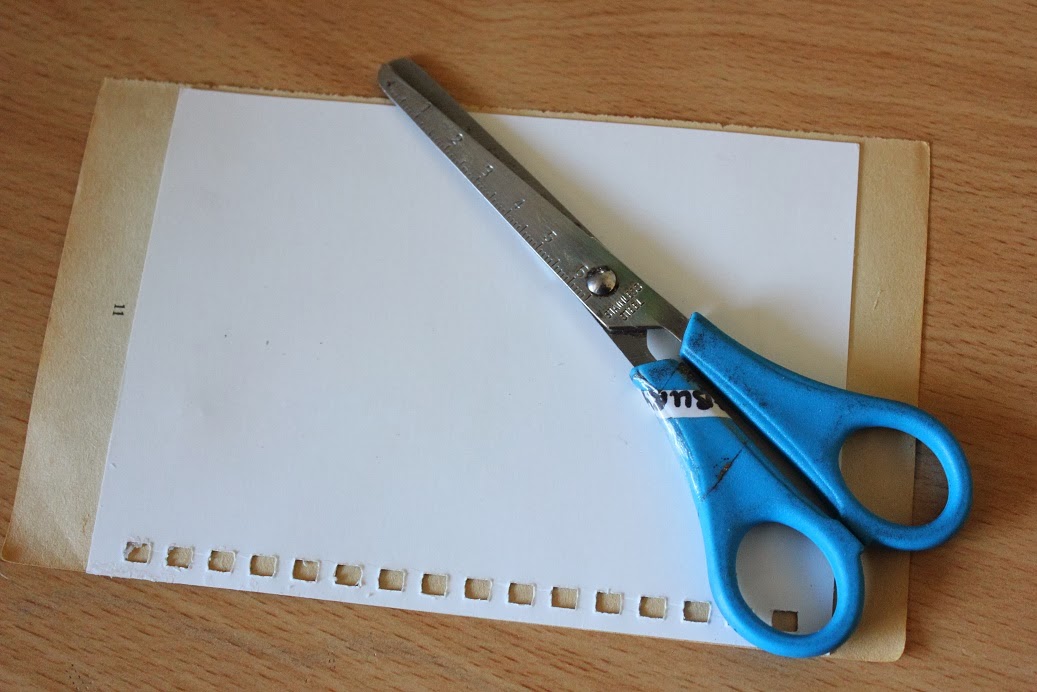
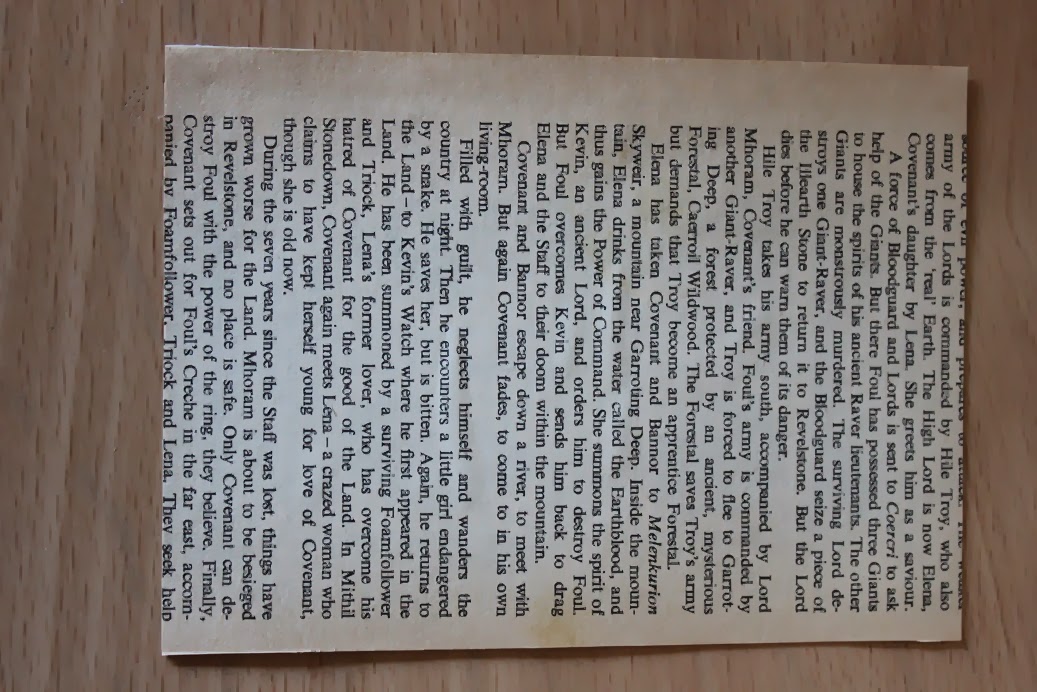
Glue selected backing paper onto the cover, ensuring that it is the right way up for when you reattach it! Then trim around.

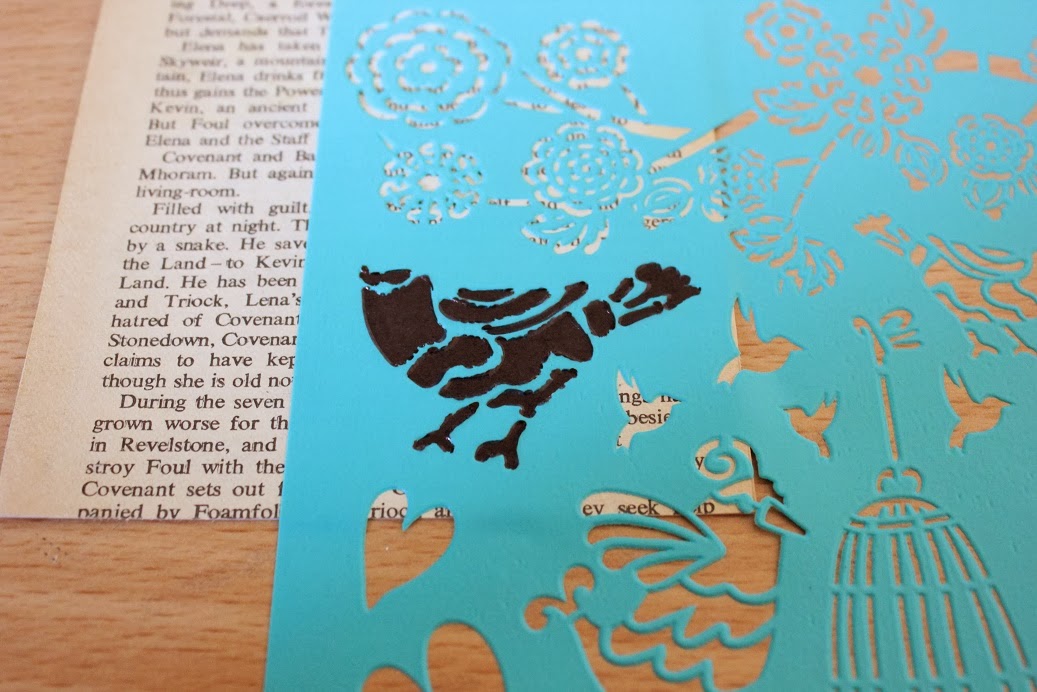
Position the stencil you wish to use where you want it, and colour in with a permanent marker.
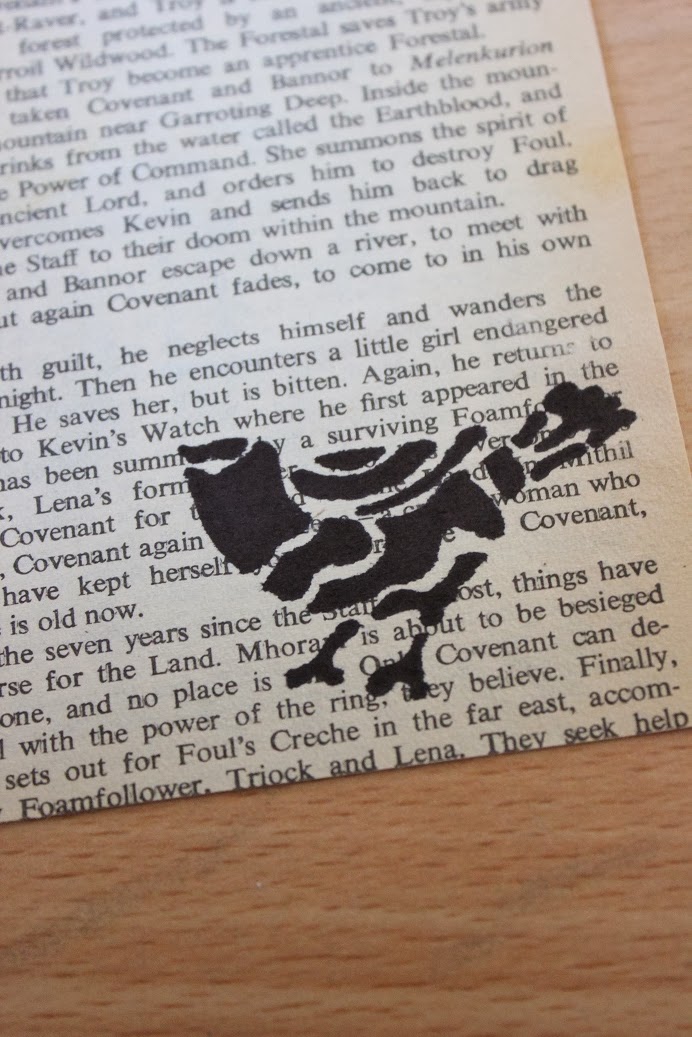
Ta Da!


Seal the cover with the craft sealant.

Using the craft scalpel, carefully carve out each of the binding holes.


Finally, reattach to the notebook (the right way up!) and enjoy! A beautiful, personalised notebook has been created!

I hope you do enjoy this tutorial, and let me know what you think, or what you would like to see next. Cheers!
No comments:
Post a Comment